
Just wanted to share this cool project I’ve been working on. So, it started when I offered to make a prosthetic leg cover for a friend. At first, I wasn’t entirely sure how I was going to do it, but why not give it a shot? I usually design and print more functional or mechanical parts, and the round organic shape of this part was going to be an interesting challenge for me.
The Beginning: Scanning the Prosthesis
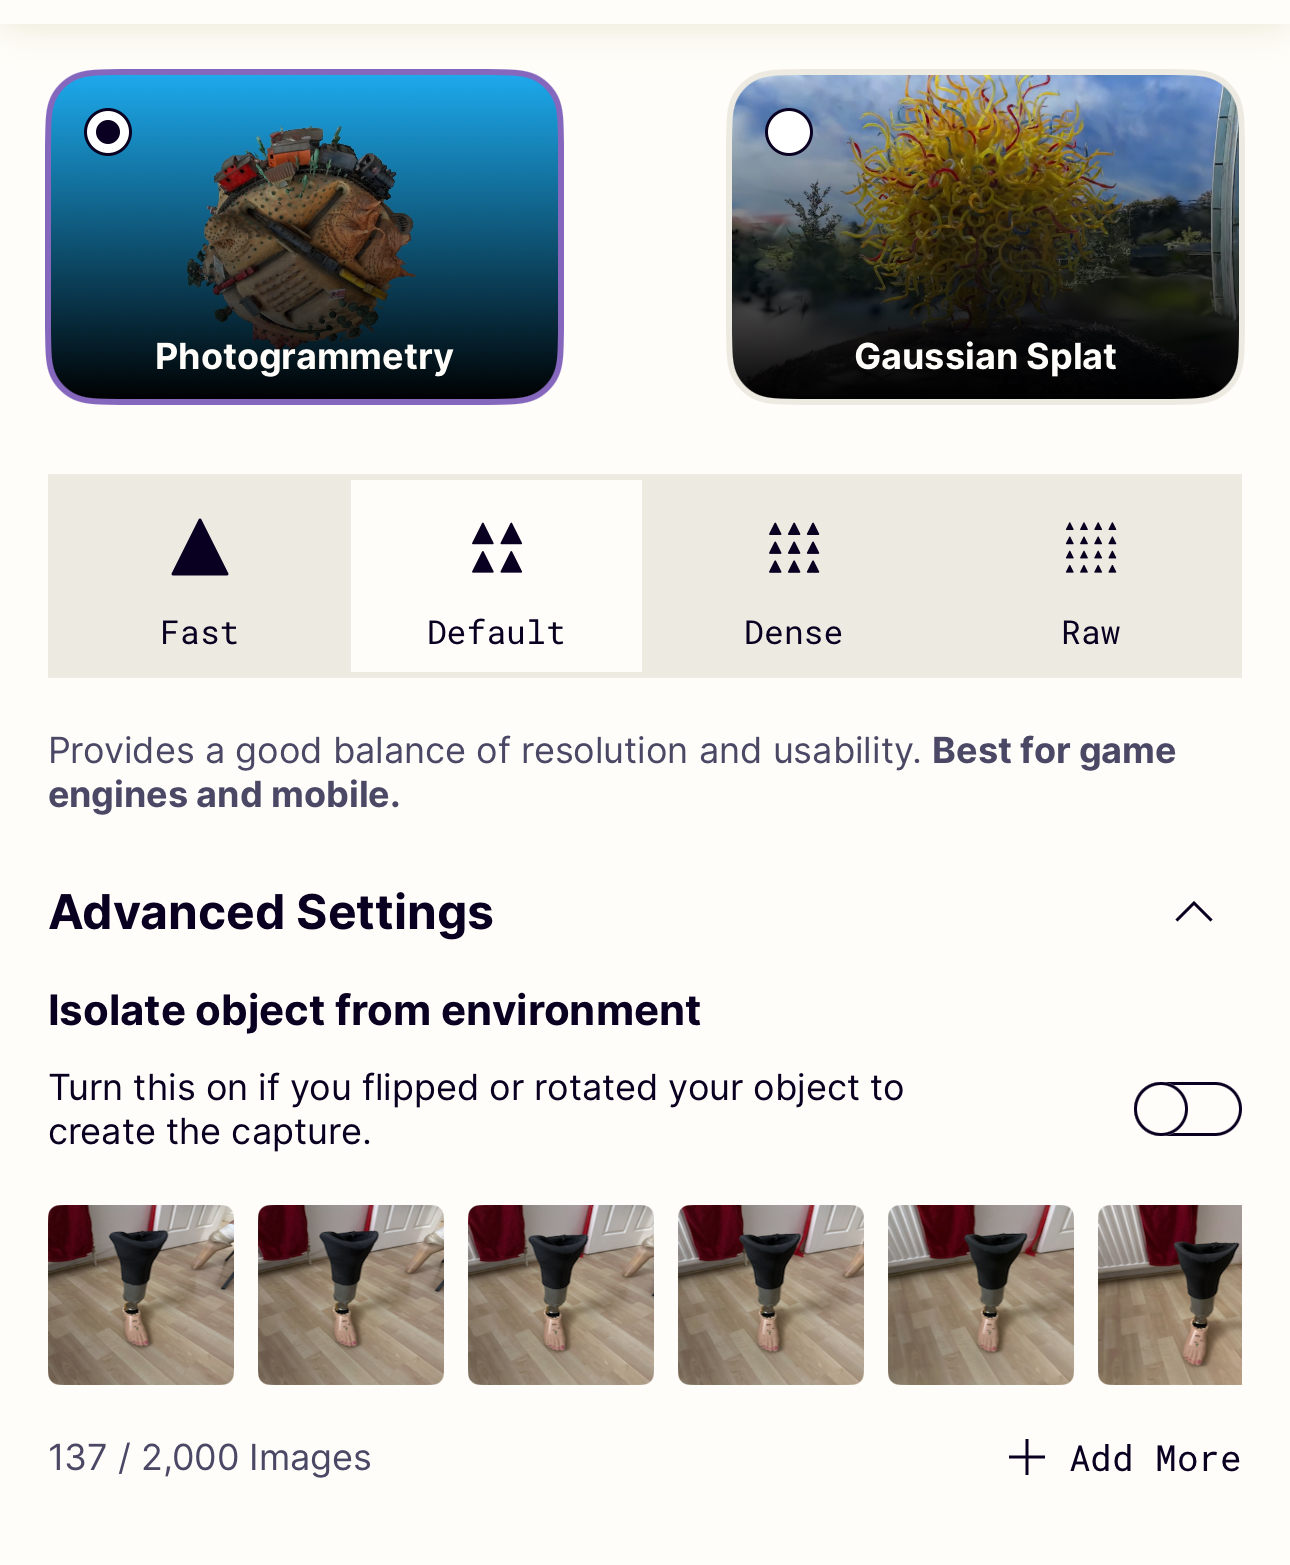
The first thing I did was to get a good model of the prosthesis. I used the Polycam app for this which can do photogrammetry. Basically, you take a bunch of pictures from various angles, and through some sort of computational black magic, it generates a 3D mesh of the object. The mesh isn’t perfect, and needs to be scaled with manual measurements, but it gives you a rough idea of how things fit together.

Designing the Cover
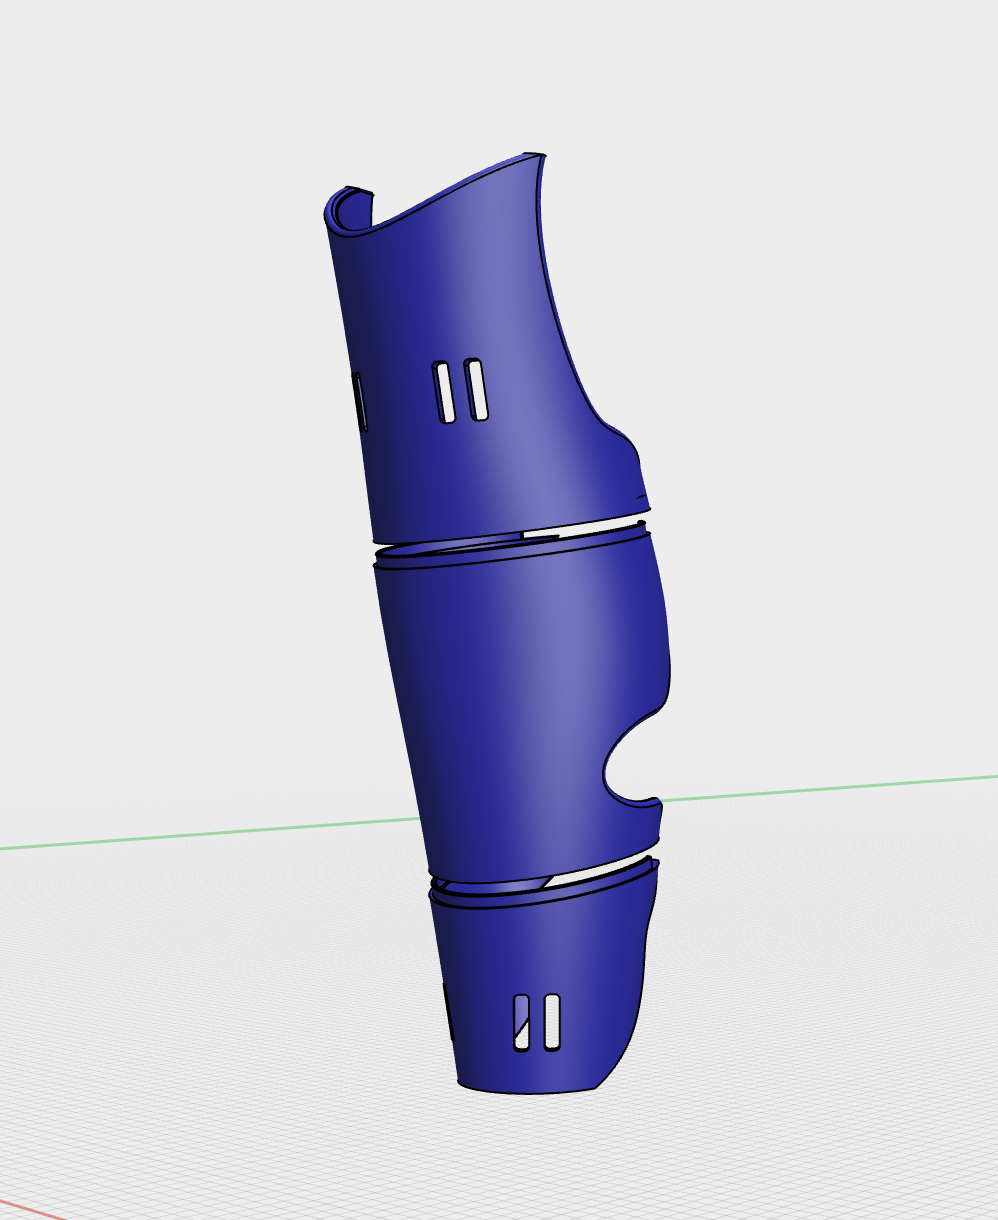
Once I had the scan, I popped it into Shapr3D and used it as a template to design the cover around. I decided to split the model into planes, then using the spline tool, I created cross-sections of the shape I wanted. Then, I lofted those together and voila, it kind of looked like a leg! After that, I hollowed it out to the right thickness and made some adjustments by subtracting sketches from the part. One cool thing about Shapr3D is the parametric history feature, so you can go back to the initial sketch and tweak it, and everything beyond that point updates automatically.


Printing Challenges
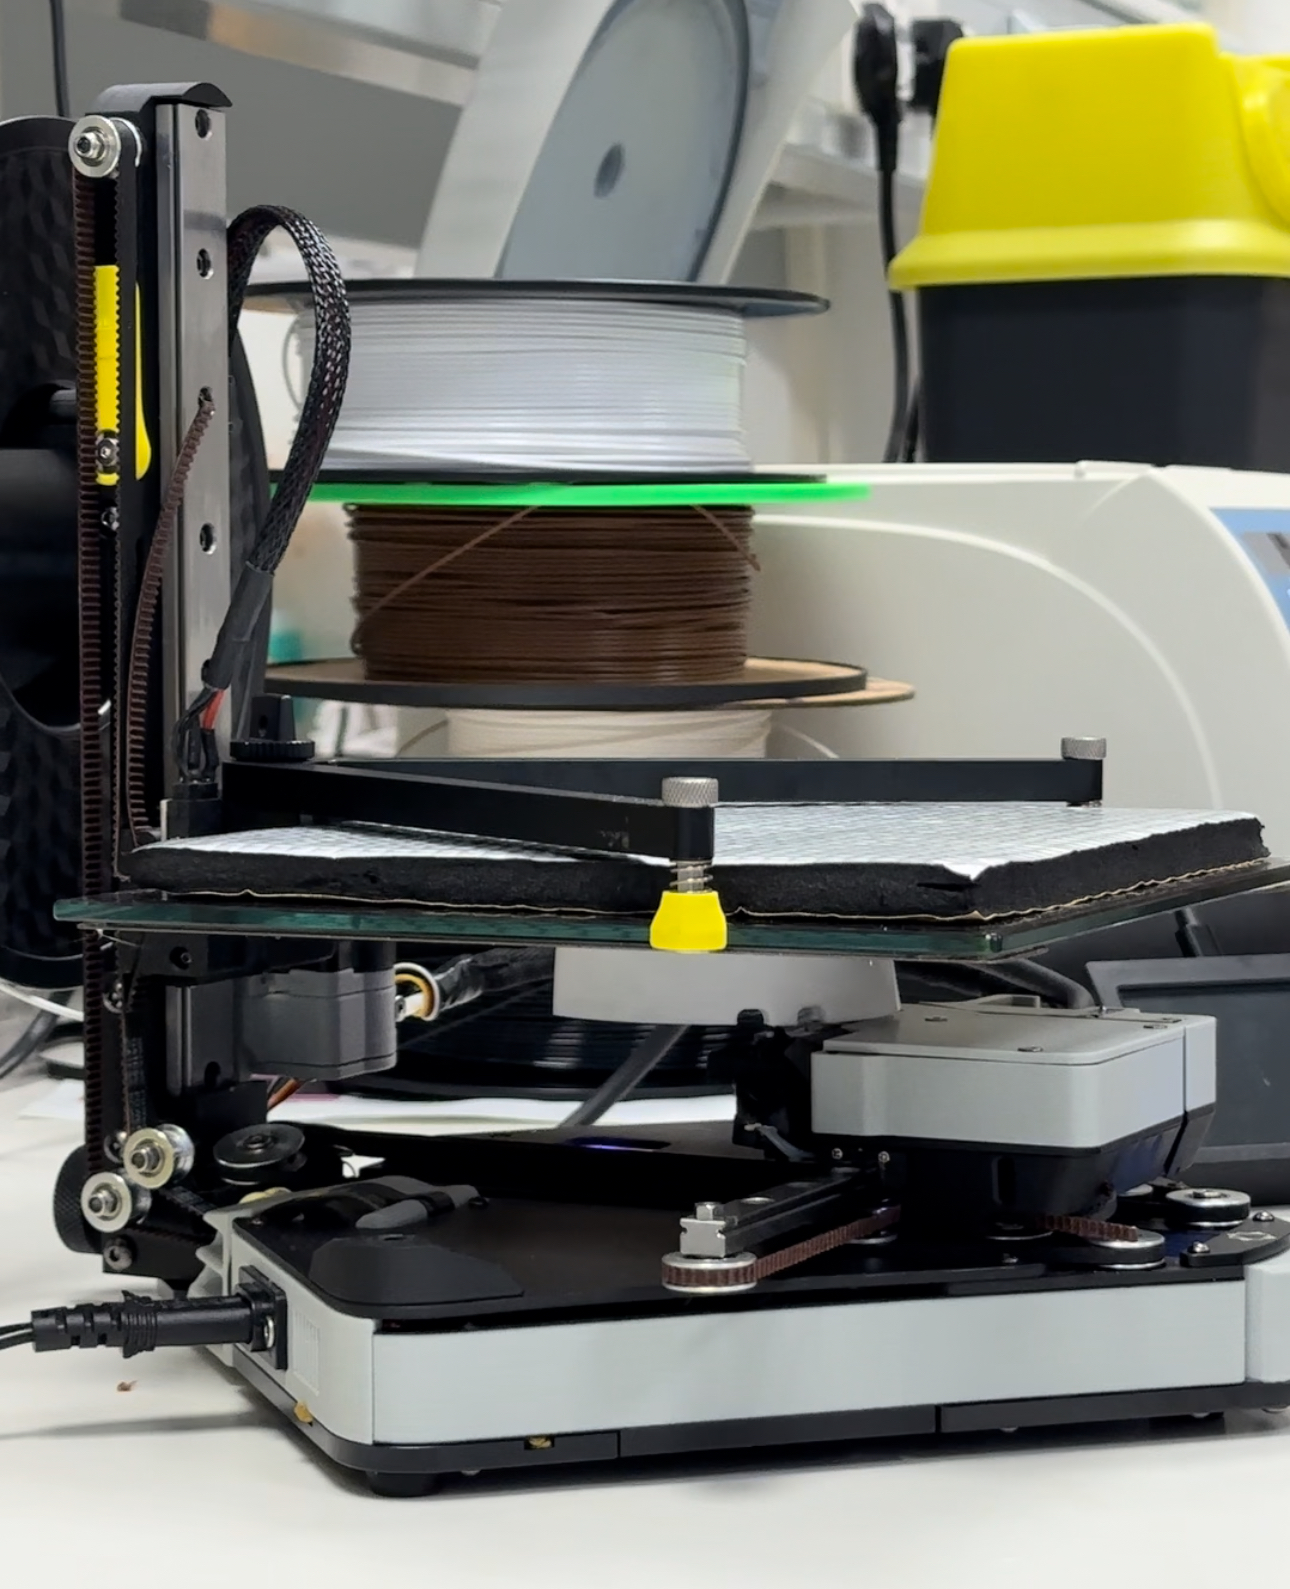
Now to the issue of turning this 3D model into a real object… I currently own a BambuLab X1C, Ender 5-S1 and one and-a-half Positron printers, none of which are large enough to print this model (one can dream of owning a PrusaXL). So I split the model in Shapr3D, designed-in some joints to glue them together and did a test print. Surprisingly, the join held up really well to a quick impact and bending test, so hopefully it would be durable enough for the final print. Plus, printing separate smaller parts means less chance of warping and less filament waste if something goes wrong.

Material Matters
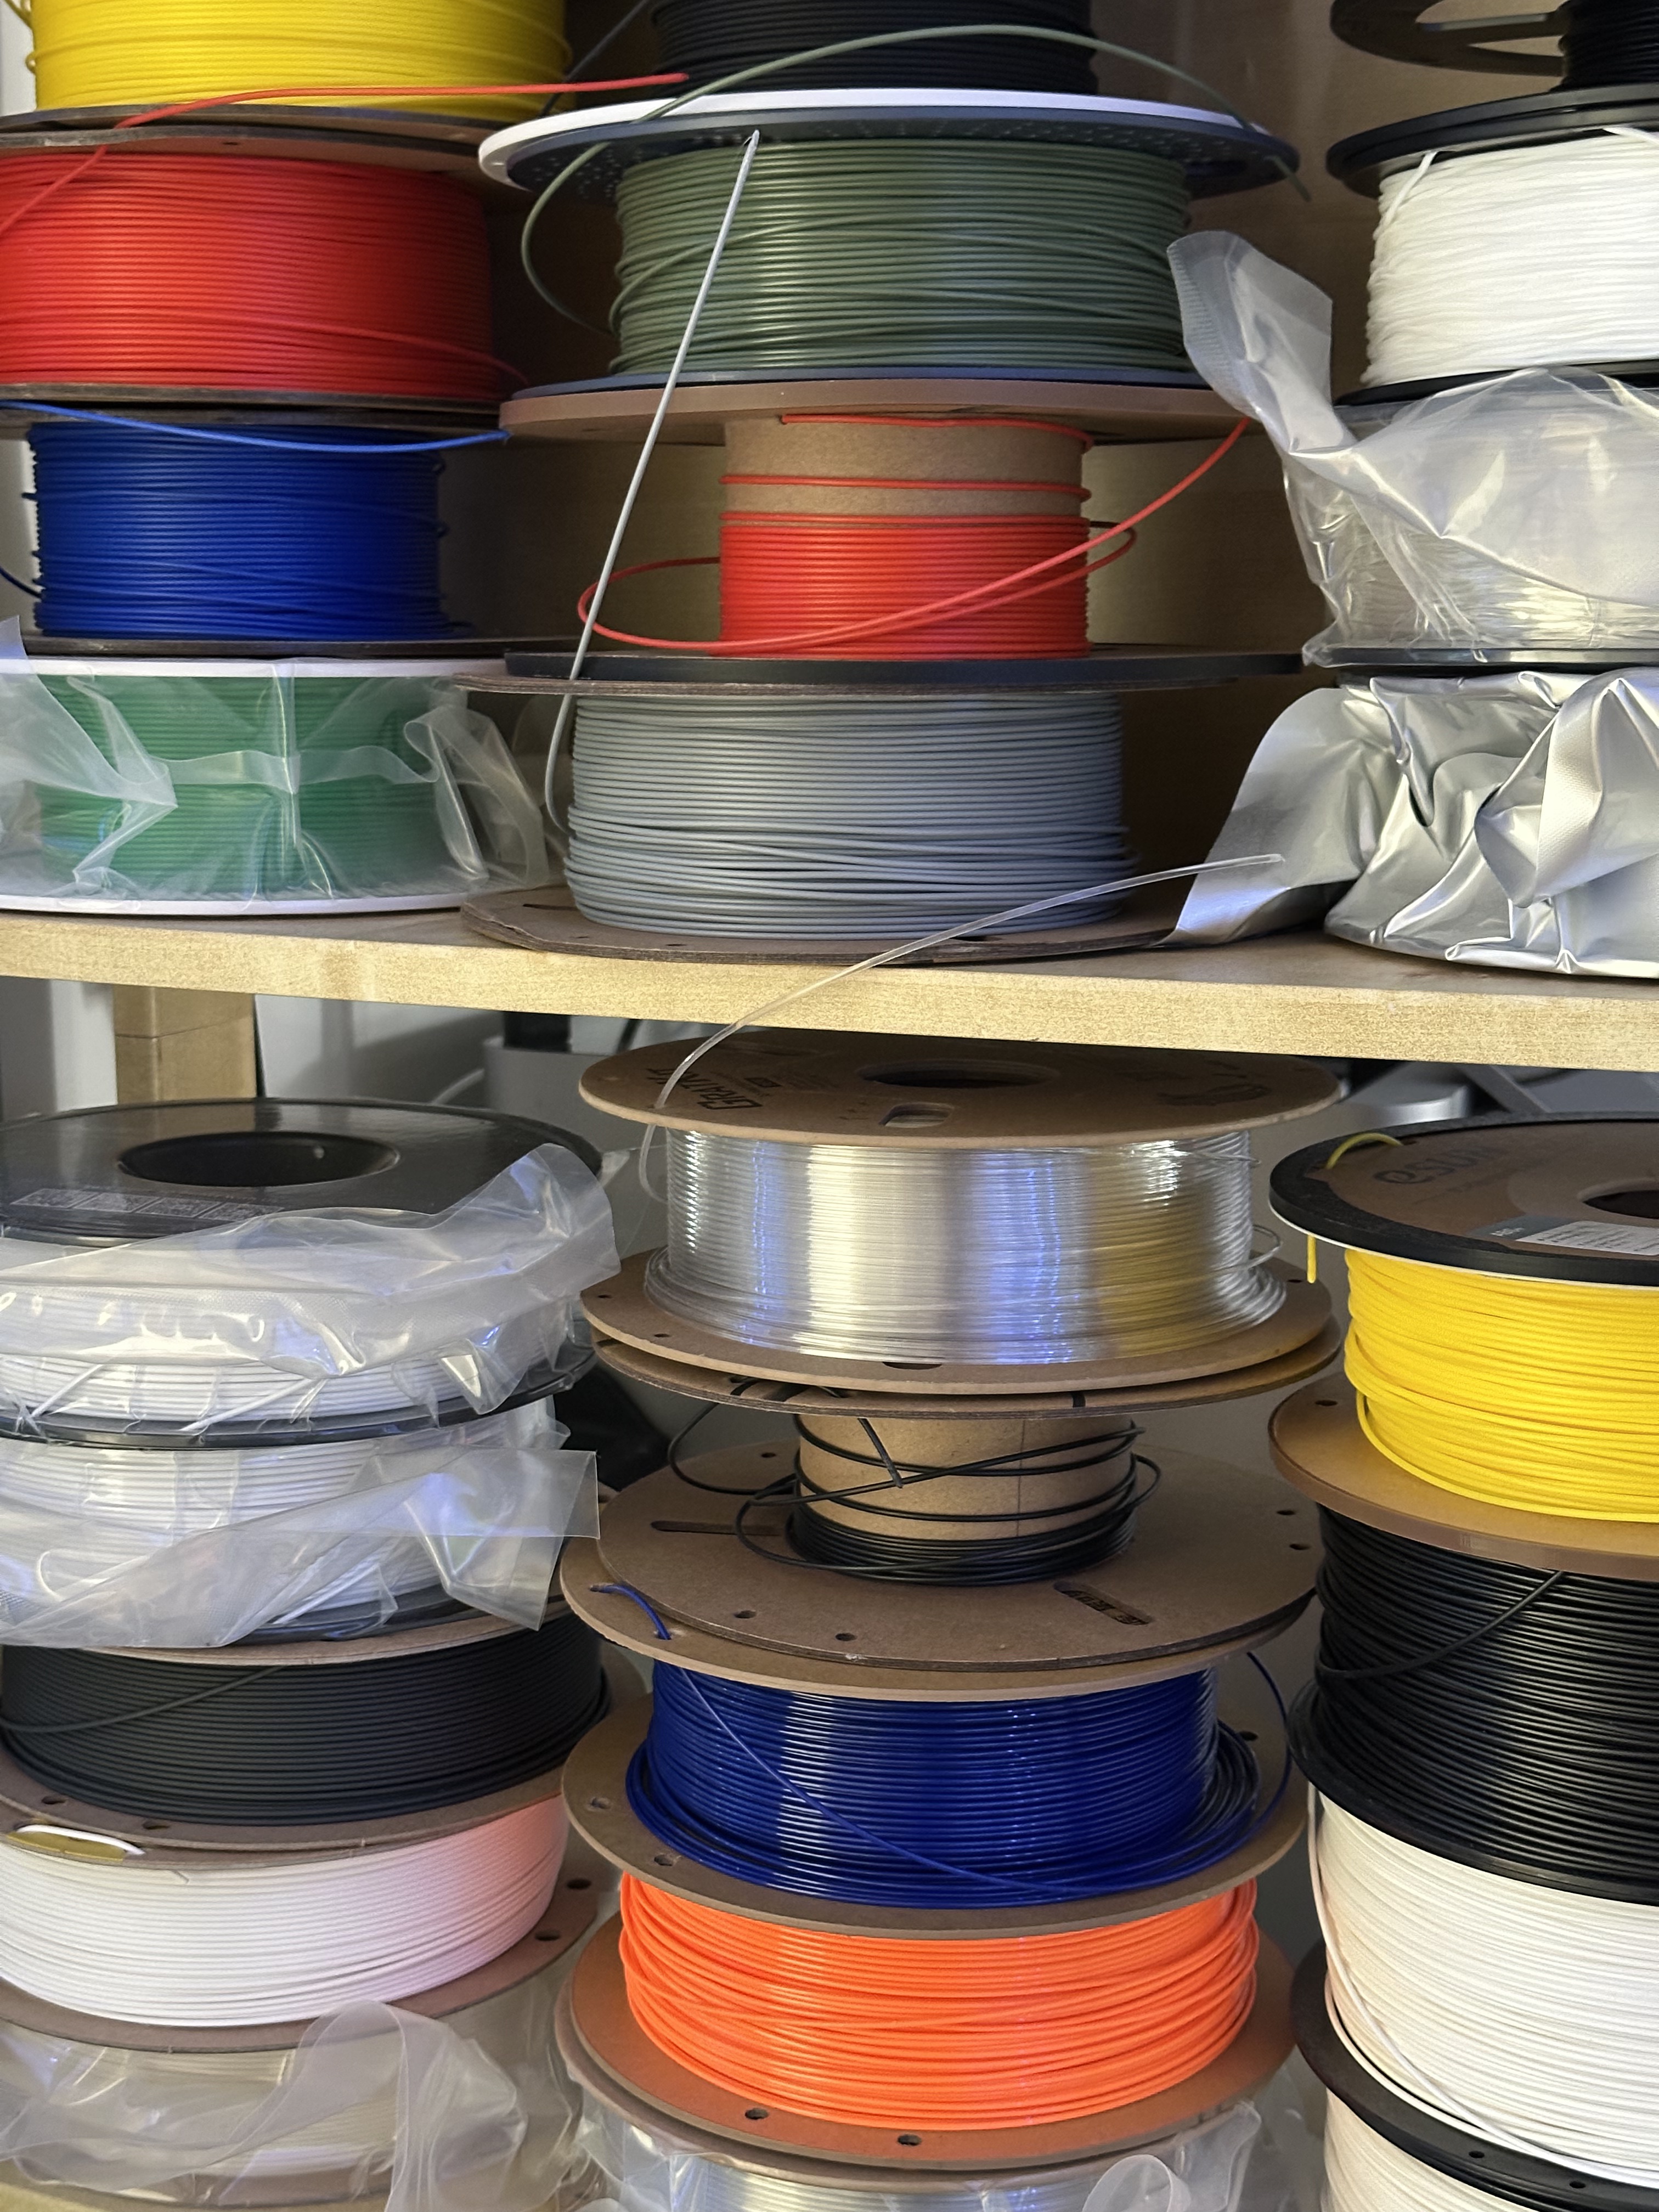
The owner of the prosthesis is pretty active, so whatever I made needs to hold up to some abuse. PLA was out because it’s brittle and gets all melty in the sun. ABS/ASA is more temperature-resistant, but printing with it involves dealing with nasty fumes. TPU was a contender because it’s tough and flexible, but for a first draft it’s slow and expensive to print. So, I went with PETG, which can be printed fast, doesn’t warp much, and is still pretty durable. At a conservative speed (15mm3/s max flow rate), all the parts took about 3.5 hours to print on the Positron. Not bad for a tiny DIY printer!
Putting It All Together
After printing, I glued the pieces together and to be honest I do think this looks really cool. I was a bit too tight with tolerance of the joints, though – 0.15mm instead of 0.2mm. Maybe next time I’ll give it a bit more room. Anyway, with some of sanding and maybe a coat of epoxy or paint, it should look quite good.


Final Thoughts
All in all, I really enjoyed this project so far. I finally overcame my fear of designing objects with organic shapes, and realised that with a bit of forward thinking design (and some glue) even a small 3D printer like the Positron can be used for large parts like this. This is still a work in progress, the design is being tweaked to fit better and I’m looking forward to exploring more materials, such as TPU or fiber-reinforced polymers to print this in.
If you have any tips or suggestions, I’d love to hear them :)
Happy printing!
