
Preamble
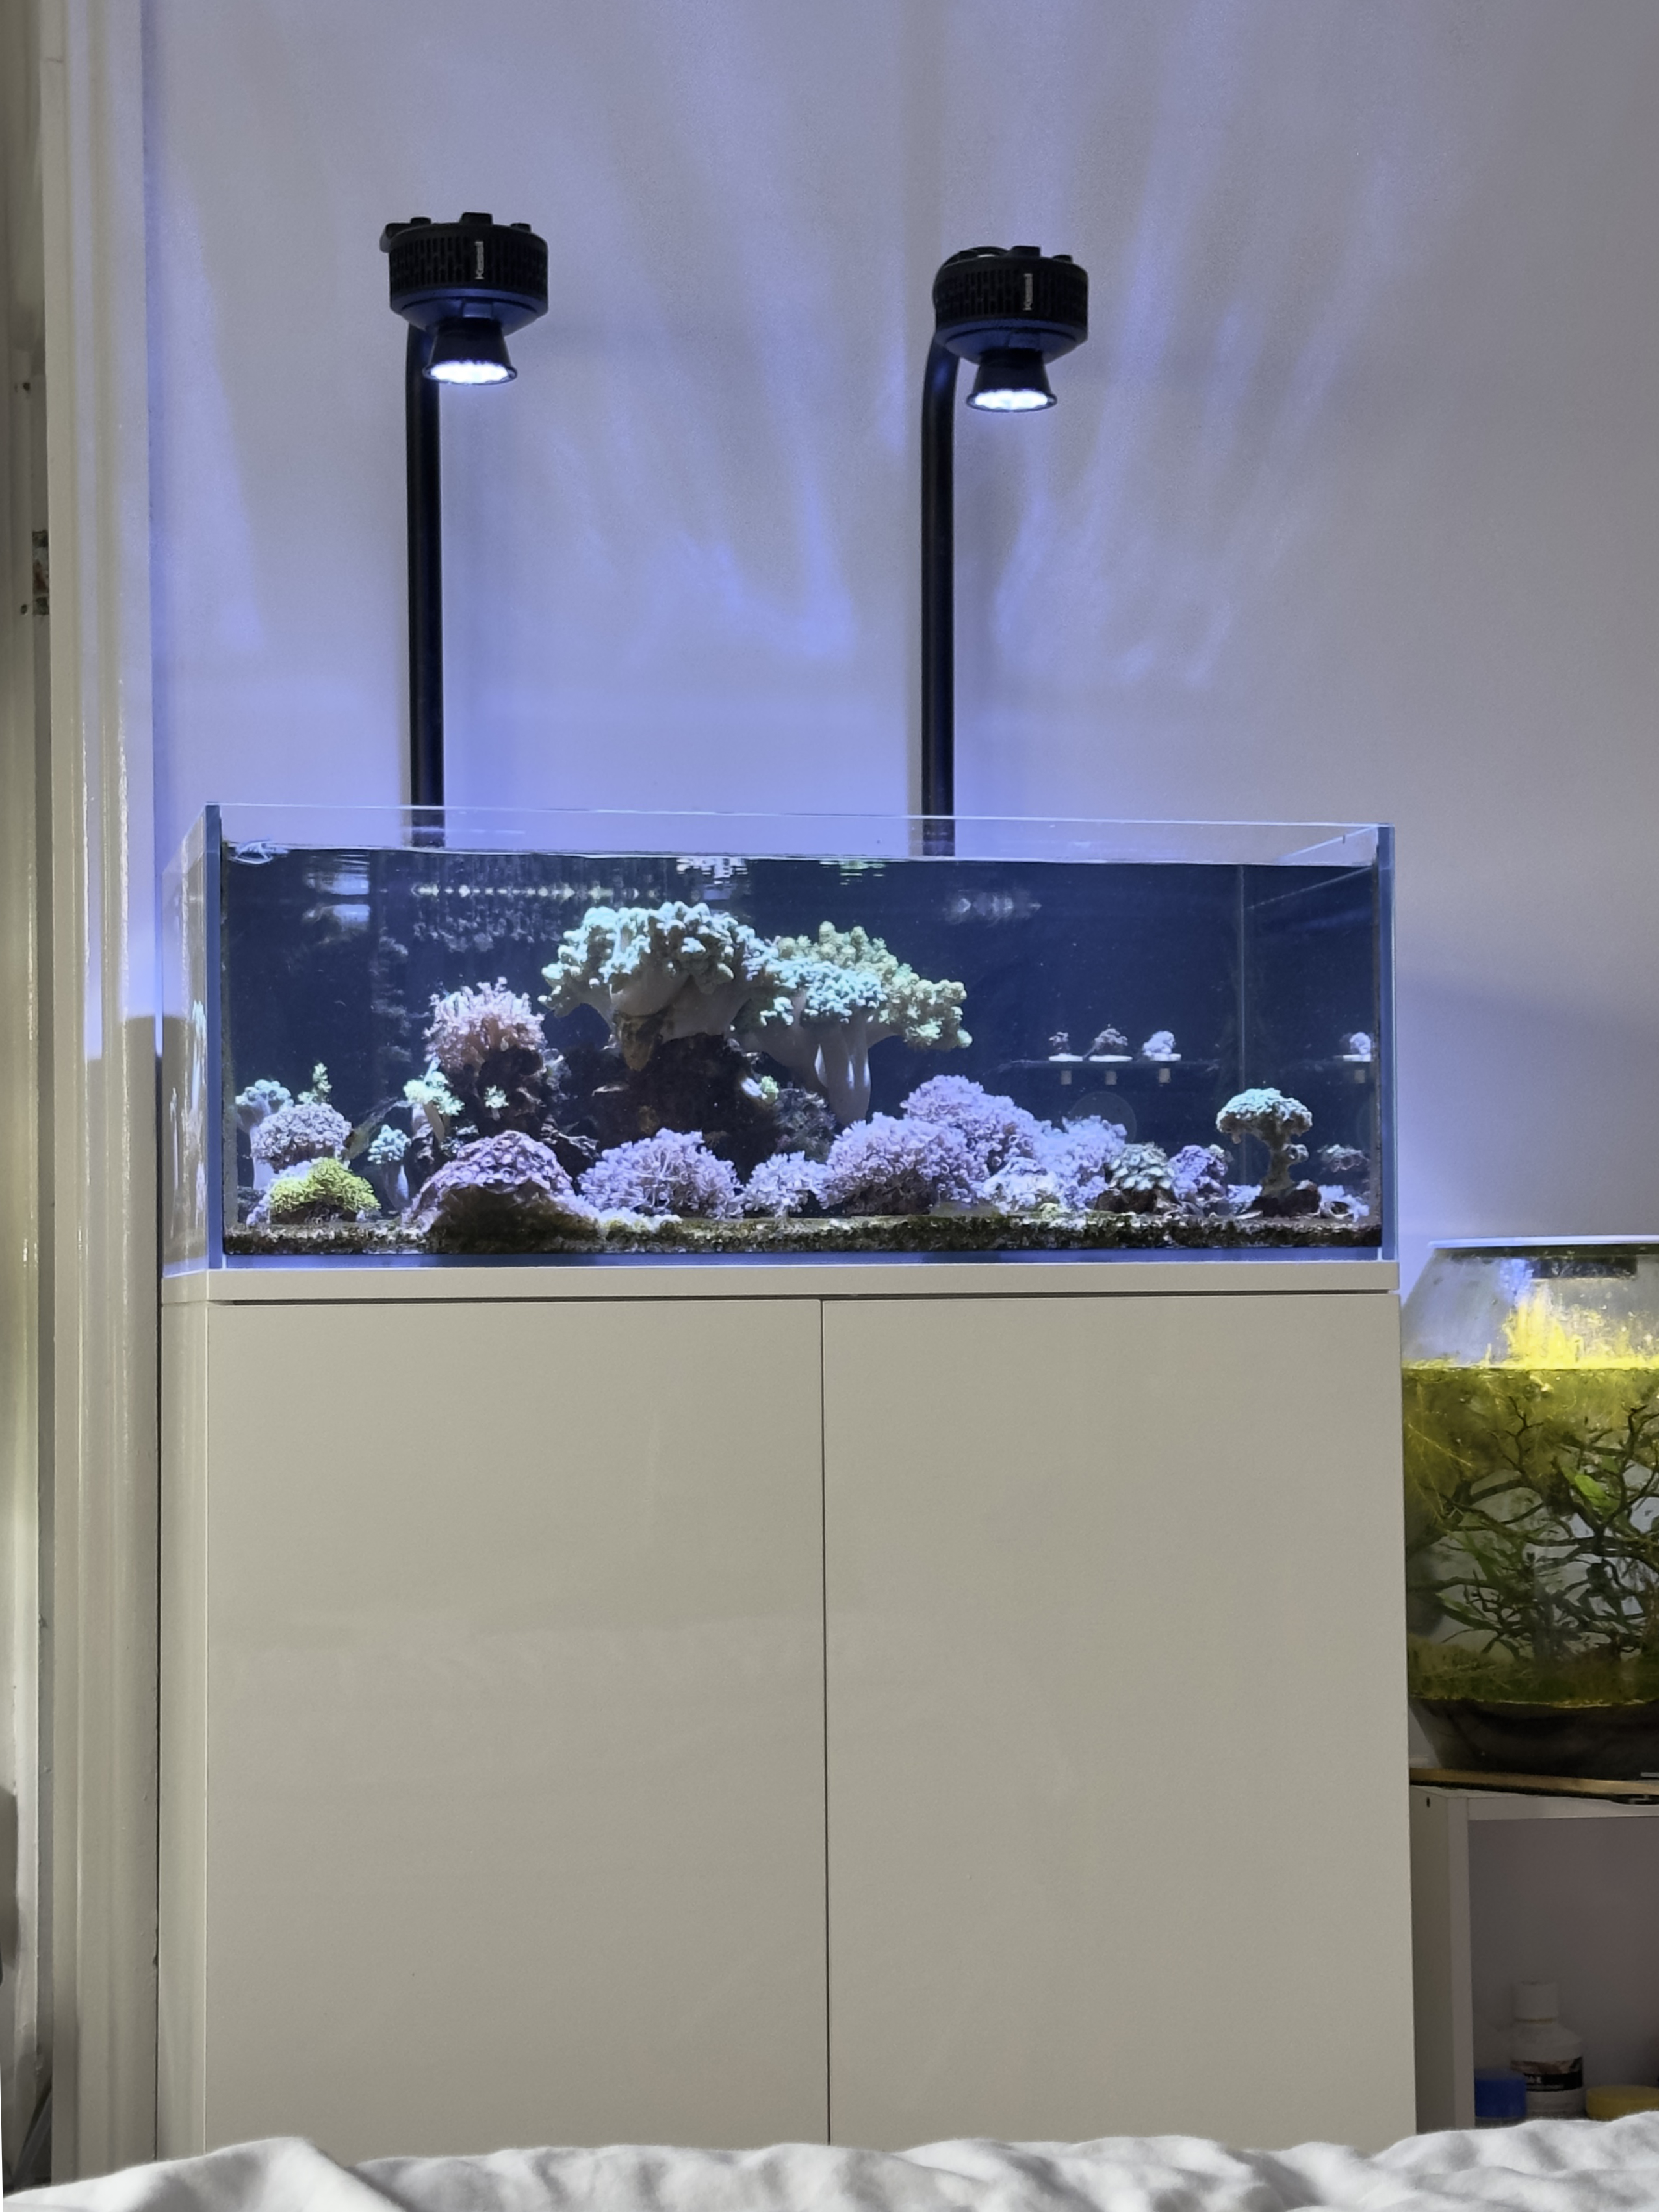
I’ve been running two Kessil A360X Tuna Blue over my reef tank for five years, and they’re still giving me the same bright, coral‑friendly spectrum I started with. The narrow reflector lets me mount it high above the tank for easy access, not something that is available on other consumer reef LEDs as far as I’m aware. Noise is minimal, dust only needs to be blown out twice a year, and surprisingly the PAR readings remained within 5 % of new‑in‑box values even at 40 % intensity for 12 hours a day.
But one unit’s cooling fan started rattling and became noticeably loud, even though the LED and driver board were still working as expected. That’s when I decided to dig into the guts of the light and see what was going on.
The Problem
The fan failed just after five years, and the noise grew louder over time. It turned out that the fan was a small 12 V unit drawing less than 0.3 A, but it had been mounted directly to the heatsink, a design that puts the fan motor and bearing in direct contact with heat from the LED.
Taking the A360X Apart
| What you’ll need | Notes |
| 1.5mm Hex driver | To remove fan mounting screws |
| 4mm Hex driver | To separate board from LED/heatsink |
| T10 Torx driver | To remove bottom cover |
| 12V 60mm (10mm height) fan, <0.3A, 3 pin | Something like this or similar should work, https://www.amazon.co.uk/dp/B08688372Q?ref=ppx_yo2ov_dt_b_fed_asin_title |
| Wire cutting/stripping tool | Optional, but makes stripping wires a lot easier |
| Solder/soldering iron | Optional, you could just twist the wires together without solder too |
| Heat shrink tubing (or electrical tape) | To hold the wires together |
| Needle-nose cutter or similar | To cut the new fan out of its housing |
Then unscrew the front panel with a T10 Torx driver. The screws are tight, so take your time to avoid stripping them. Once the cover is off, you can unscrew the two bolts from the top of the light to separate the board and LED/heatsink (the two halves will be connected by wires). You’ll see the fan hub sitting flush on the heatsink, with three mounting screws (accessible through the fan blades). Unlike a typical CPU cooler, there’s no fan housing; the hub is directly exposed to the heat generated by the LED. The fan’s wiring is simple: a 12 V line, ground, and a tachometer pin, however the connector is inaccessible due to the conformal coating on the board. The fan’s part number (Everflow T126015SH(8)) is labeled on the hub, but I couldn’t find an exact matching replacement online.


Design Insight
Kessil’s compact design keeps the light source and fan very close together to save space compared to older models. That proximity means the fan’s bearing runs at higher temperatures than it would if it was mounted through the fan housing. Perhaps a different mounting setup can reduce the temperature at the bearing and extend its life, but for now the existing design works as long as you replace the fan when it wears out.
Sourcing a Replacement Fan
I searched for a generic 12 V fan that draws no more than 0.3 A and has a three‑pin connector (12 V, GND, tachometer). I found a suitable model (https://www.amazon.co.uk/dp/B08688372Q?ref=ppx_yo2ov_dt_b_fed_asin_title) on Amazon for £7. It’s slightly thinner than the original but works just fine.
Replacing the Fan
Cut off the plastic housing of the new fan with a needle nose cutter, keeping the hub intact and making sure there aren’t any. Apply a thin layer of adhesive to the base of the new hub, then press it onto the same spot on the heatsink where the original was mounted. Let it cure for 10–15 minutes.
Next, splice the new fan’s wires to the originals. Strip the ends of the 12V, ground and tachometer leads, twist them together, and solder or use heat‑shrink tubing. Test that the fan spins up as expected before reassembling.


Final Thoughts
Replacing the fan was surprisingly straightforward once you have the right tools and a suitable replacement. Hopefully this will keep these >£450 lights working for at least a few more years.
Happy reef‑keeping!
